

Compound Bow for Beginners: Everything You Need to Know Before You Buy (2026 Guide)
May 28, 2026 | by Ian
What Is the Best Compound Bow for a Beginner?
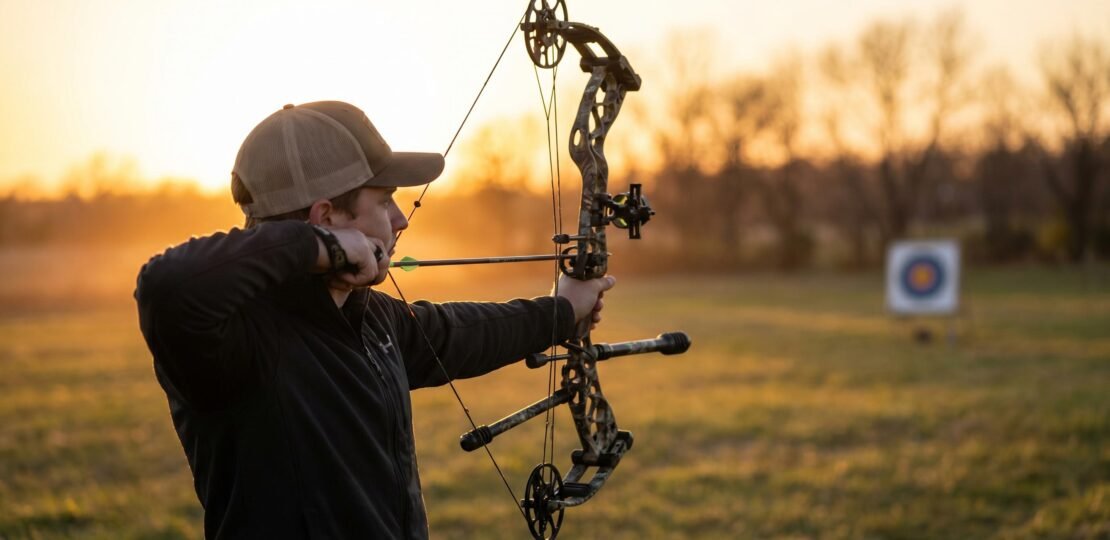
The best compound bow for a beginner is a highly adjustable package that covers draw lengths from roughly 19-30 inches and draw weights from 5-70 lbs. Budget $300-$500 for a complete ready-to-shoot package from Bear Archery, Diamond, or PSE. Adjustability means the bow grows with you as your form improves.
Compound Bow for Beginners: Everything You Need to Know Before You Buy (2026 Guide)
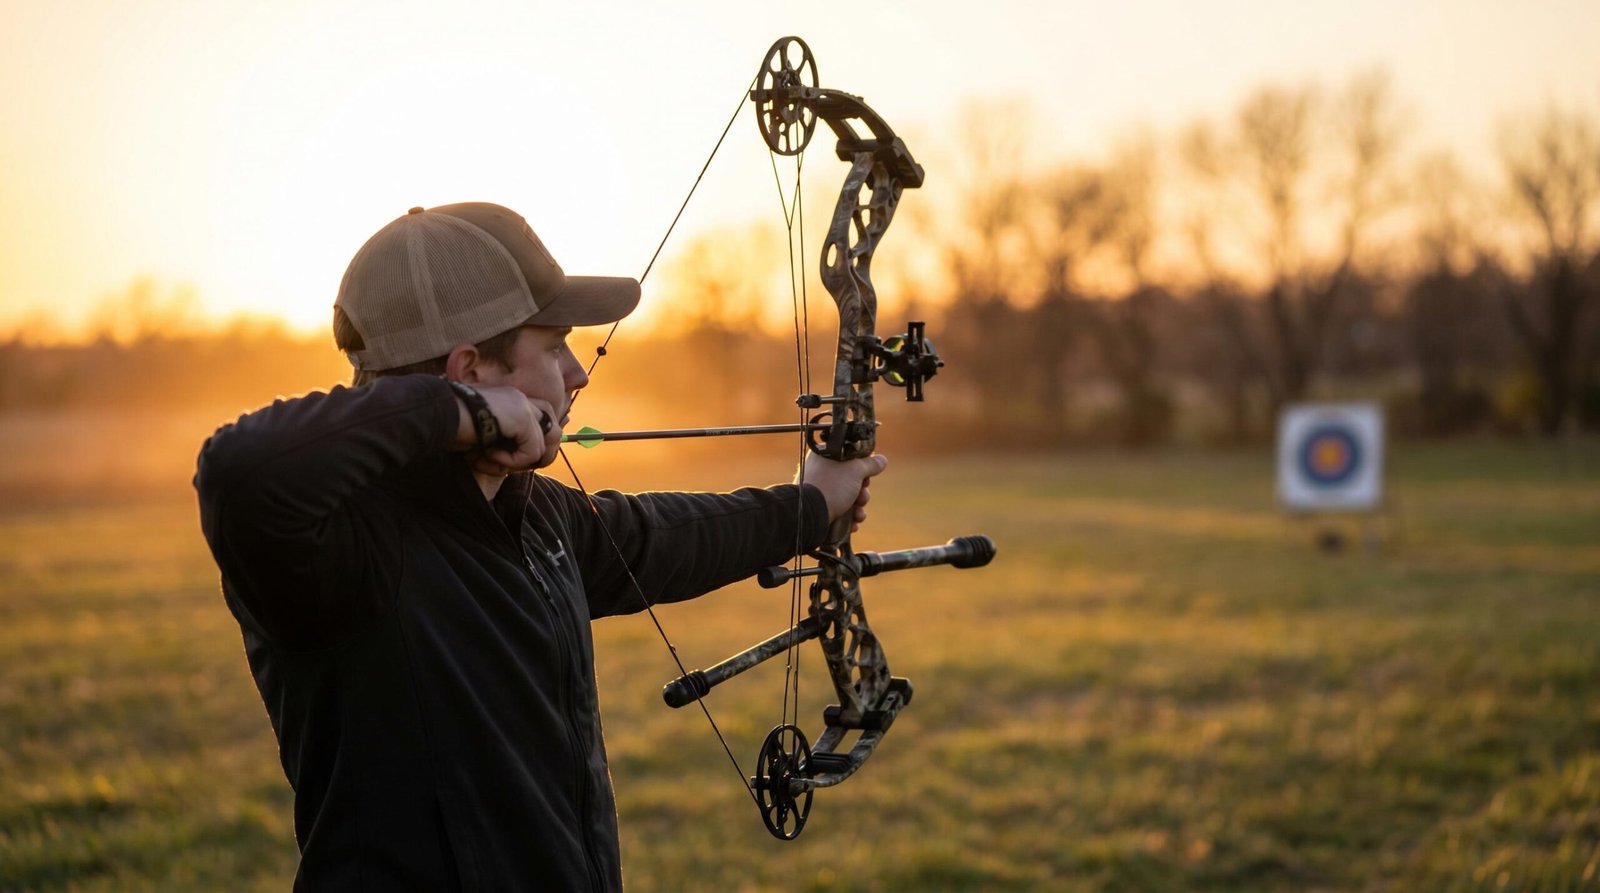
Buying your first compound bow is genuinely confusing. The marketing copy throws around terms like IBO speed, brace height, and let-off percentage as if everyone already speaks the language. Spec sheets read like engineering manuals. And the price spread runs from $150 packages on big-box shelves to $1,500 flagship rigs at the pro shop down the road.
Here is the short version before we get into the weeds: you do not need a $1,500 bow, you do not need a 70-pound draw weight, and you almost certainly need more adjustability than you think. The right beginner compound bow is one that fits you today, fits you in six months when your form is sharper, and fits you in two years when your draw length has stretched out by an inch.
This guide is the one we wish every new shooter who walked into our circle had read first. We cover anatomy, how to measure yourself at home, what specs actually matter, what a fair price looks like, and which specific bows we suggest in 2026. Read it once and you will know more than 90 percent of people standing at the archery counter on a Saturday morning.
What Makes a Compound Bow Different?
A compound bow uses a system of cams (or wheels) and cables to bend the limbs and store energy. When you draw the string back, those cams rotate, and at a specific point near full draw, the mechanical advantage flips. The bow suddenly feels far lighter to hold. That sudden feeling of the string going light at full draw is called let-off, and it is the single biggest difference between compound and recurve archery.
On a 60-pound compound bow with 80 percent let-off, you only hold about 12 pounds at full draw. On a 40-pound recurve, you hold the full 40 pounds the entire time you are aiming. That difference changes everything about how the bow is shot, who can shoot it, and how accurate it is at distance.
The Cam System
Cams are the asymmetrical wheels at the tips of the limbs. Single cam bows have a power cam on the bottom and an idler wheel on top, which makes them quieter and a little more forgiving for new shooters. Dual cam (or hybrid cam) bows have matched cams on both ends, which produces faster arrow speeds but demands more precise tuning. For your first bow, do not stress over cam type. A single cam or hybrid cam from a reputable maker will serve you fine for years.
The Limbs
The limbs are the flexible upper and lower arms of the bow. Modern beginner bows almost always use split limbs (two thin parallel pieces per end) rather than solid limbs. Split limbs are lighter, vibrate less, and are easier to replace if you crack one. The limbs store the energy that the cams transfer into the arrow.
The Riser
The riser is the central body of the bow, the part you actually grip. Most modern risers are machined aluminum, though entry-level bows sometimes use cast aluminum or polymer. The riser holds all your accessories: sight, arrow rest, stabilizer, and quiver. A heavier, rigid riser is generally more accurate. A lighter riser is easier to carry in the woods.
The String and Cables
The bowstring is what you draw back. The cables connect the cams to the opposite limbs and synchronize the system. Strings and cables wear out, typically every 2-3 years of regular shooting, and they need to be replaced as a set by a qualified bow tech. Do not try to do this yourself the first time.
Let-Off, Plain English Version
Let-off is the percentage of the peak draw weight you no longer have to hold at full draw. If a bow is rated for 60 pounds peak with 80 percent let-off, you are holding 12 pounds at full draw (60 minus 80 percent of 60). That low holding weight lets you aim steadily for 5, 10, or even 20 seconds without your bow arm shaking. Most modern compound bows offer 75 to 85 percent let-off. Higher let-off feels easier but stores slightly less energy in the arrow. For a beginner, anything in that 75 to 85 percent range is excellent.
Compound Bow vs. Recurve: Which Is Better for Beginners?
This is the first real decision you have to make, and the answer depends on what you want from archery. Recurves are simpler, lighter, and the only style allowed in the Olympics. Compounds are easier to aim, more accurate at distance, and dominate bowhunting. Here is the honest side-by-side.
| Factor | Compound Bow | Recurve Bow |
|---|---|---|
| Learning curve | Easier first month, harder to reach mastery | Harder first month, more intuitive long-term |
| Maintenance | Higher, professional string and cable service needed | Low, you can change strings yourself |
| Accuracy at distance | Excellent past 40 yards | Demands far more skill past 30 yards |
| Portability | Heavier, bulkier, harder to travel with | Lighter, often takedown into a case |
| Price (entry level) | $250-$500 ready-to-shoot | $150-$300 ready-to-shoot |
| Olympic eligibility | No (compound is World Archery only) | Yes (recurve is the Olympic discipline) |
Our verdict: if your goal is hunting or you want to be accurate at distance fast, buy a compound. If your goal is Olympic-style target competition or you love minimalist mechanical things, buy a recurve. Most American beginners we meet are hunters or backyard shooters, and for them, compound wins. The governing body for archery in the United States is USA Archery, and their resources cover both styles in depth if you want to compare formal training paths.
How to Measure Your Draw Length at Home
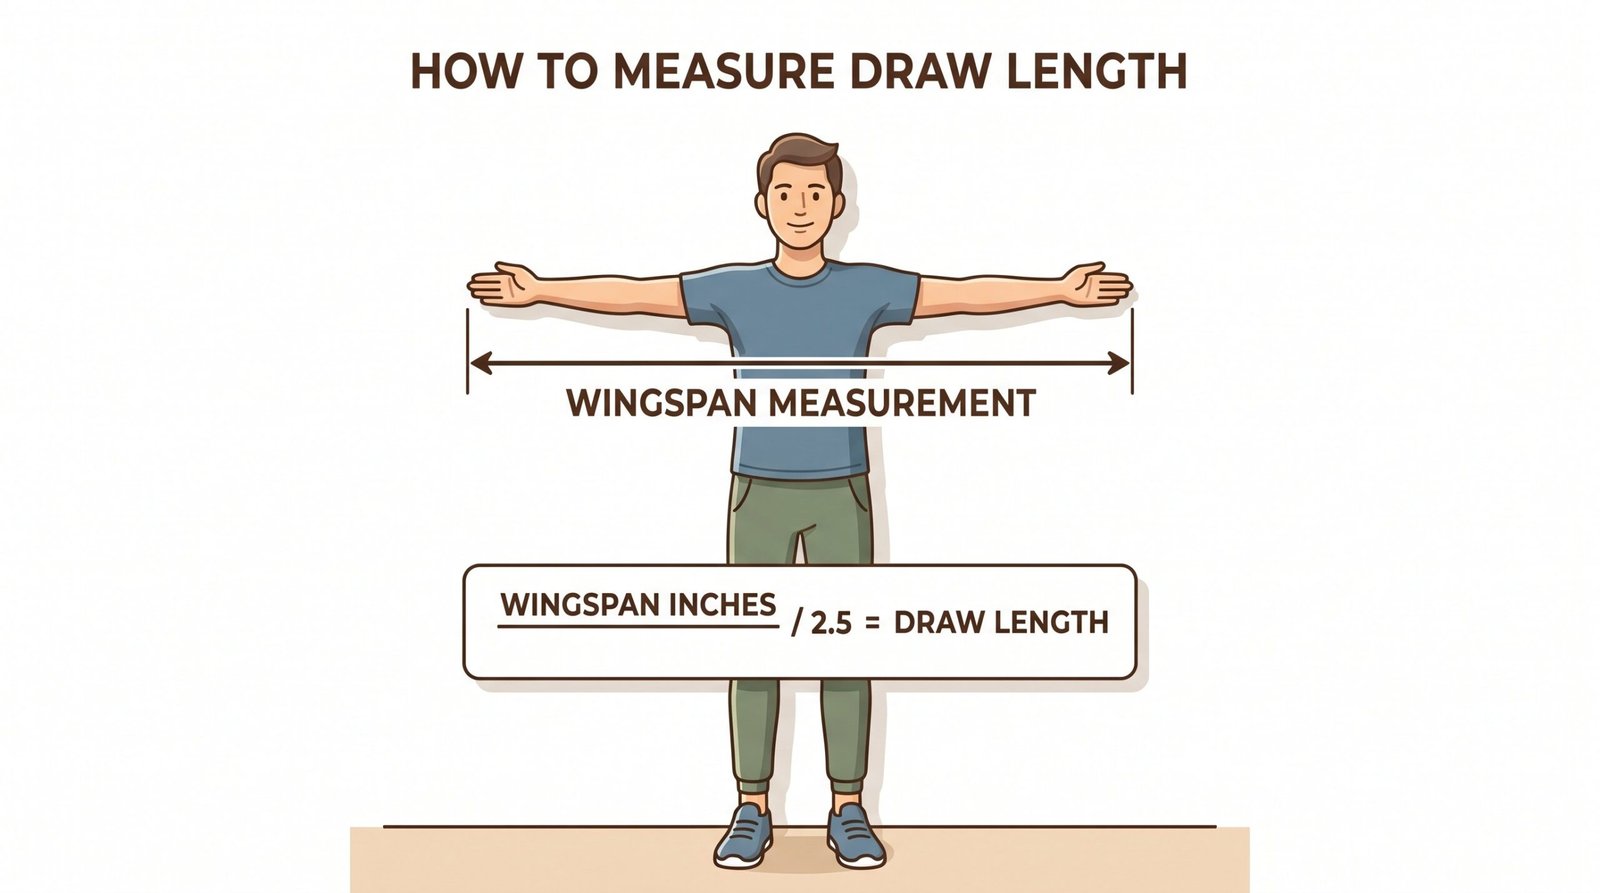
Draw length is the distance from the bowstring at full draw to the throat of the grip, expressed in inches. It is the single most important measurement for fitting a compound bow. Too long and you will be over-extended with a sloppy anchor point. Too short and you will feel cramped and lose power. You can get a workable measurement in your kitchen in about two minutes.
Method 1: The Wingspan Method (Most Accurate)
- Stand with your back flat against a wall, arms stretched horizontally like a T.
- Do not stretch or strain. Just relaxed, natural extension.
- Have a friend measure from the tip of one middle finger to the tip of the other.
- Divide that wingspan in inches by 2.5.
- The result, to the nearest half inch, is your draw length.
Example: a 70-inch wingspan divided by 2.5 equals 28 inches of draw length. That is the average for an adult American man. Adult women typically measure 25 to 27 inches. Teenagers and smaller-framed adults often land at 24 to 26 inches.
Method 2: The Fist-to-Mouth Method (Quick Check)
- Make a fist with your bow hand (the hand that will hold the bow).
- Press that fist against a wall at shoulder height, arm straight.
- Turn your head and bring your mouth to the wall, lips just touching.
- Measure from the wall to the corner of your mouth.
- That distance, in inches, is your approximate draw length.
The fist-to-mouth method is faster but a little rougher. We use it as a sanity check on the wingspan number. If the two methods agree within half an inch, you can trust the result. If they disagree by more than an inch, you probably need a pro shop to measure you on a draw board.
What Draw Weight Should a Beginner Use?
Starting with too heavy a draw weight is the number one mistake new compound shooters make. Heavy weight wrecks your form, builds bad muscle memory, and makes practice miserable. Your draw weight should let you pull the bow smoothly while seated, hold it at full draw for 30 seconds without your bow arm trembling, and shoot 30 to 50 arrows in a session without your shoulder burning the next morning. If any of that fails, you are too heavy.
| Shooter Profile | Starting Draw Weight (Target) | Working-Up Draw Weight (Hunting) |
|---|---|---|
| Children, ages 8-12 | 8-12 lbs | Not yet, focus on form |
| Teens, ages 13-17 (smaller build) | 15-25 lbs | 30-40 lbs after 6 months |
| Adult women (average build) | 20-30 lbs | 35-45 lbs after 6-12 months |
| Adult women (athletic build) | 25-35 lbs | 40-50 lbs after 6-12 months |
| Adult men (average build) | 30-40 lbs | 50-60 lbs after 6-12 months |
| Adult men (athletic build) | 40-50 lbs | 60-70 lbs after 6-12 months |
Two important caveats. First, most states require a minimum draw weight for hunting big game, typically 40 pounds for deer and 50 pounds for elk. Check your local fish and wildlife regulations before you commit to a hunting setup. Second, the table above assumes you are starting fresh with no archery background. If you have shot a recurve at 30 pounds for two years, your compound starting weight can be 5 to 10 pounds higher than the chart suggests.
The good news: a quality beginner compound bow lets you adjust draw weight by 40 to 50 pounds with an Allen wrench. You can buy a 70-pound bow and shoot it at 25 pounds for the first month, then turn it up as your shoulders catch up. This is exactly what adjustable beginner bows are designed for.
The 6 Things That Actually Matter in a Beginner Compound Bow
Spec sheets list 20 numbers. Six of them actually matter for your first purchase. Master these and you can shop with confidence.
1. Draw Length Range
Look for a bow with at least 6 inches of adjustability, ideally more. A bow that adjusts from 18 to 30 inches (like the Diamond Infinite Edge Pro) can fit a 10-year-old and the same 10-year-old eight years later. Bows with fixed or narrow draw length are a bad bet for a first bow because your true draw length often refines by half an inch in the first six months as your form settles.
2. Draw Weight Range
Look for a 40 to 50 pound adjustment range, typically something like 5-70 pounds or 10-70 pounds. This lets you start light and work up over months without buying a new bow. Bows locked into a narrow band (say, 50-60 pounds) are fine for experienced shooters but limiting for total beginners.
3. Let-Off Percentage
Aim for 75 to 85 percent. Anything in that range is forgiving and easy to hold at full draw. Some target-style bows offer 65 percent let-off for tighter shot execution, but for a first bow, go with the higher let-off so you can hold steady while you learn.
4. Axle-to-Axle Length
This is the distance between the centers of the two cams. Short bows (28-32 inches) are easier to maneuver in tree stands and blinds. Long bows (33-38 inches) are more forgiving and easier to shoot accurately because the string angle at full draw is gentler. For a backyard shooter or hunter who will also do target practice, we suggest 30 to 33 inches as the sweet spot.
5. Brace Height
Brace height is the distance from the grip to the string at rest. A taller brace height (7 to 7.5 inches) is more forgiving of form errors. A shorter brace height (6 to 6.5 inches) produces faster arrows but punishes mistakes. Beginners should choose 7 inches or more. Speed will not save bad form, and arrow speed differences of 10 fps are invisible at hunting and target distances.
6. What Is Included in the Package
A bare bow is just the riser, limbs, cams, and string. To actually shoot it you need a sight, an arrow rest, a stabilizer, a release aid, a quiver, and arrows. Buying these separately can easily double the cost of the bow. A ready-to-shoot package includes most of this, which is why we suggest beginners almost always buy packages.
Package Deal or Bare Bow: What’s Actually in the Box?
Ready-to-Hunt (RTH) and Ready-to-Fire (RTF) packages are how 90 percent of beginners buy their first bow, and for good reason. They save money, save research time, and get you shooting on day one. Here is what is typically inside.
- The bow itself: riser, limbs, cams, string, cables, all assembled.
- 3-pin or 5-pin sight: usually a fiber optic sight calibrated for 20, 30, and 40 yards out of the box.
- Whisker biscuit or capture arrow rest: holds the arrow on the shelf and is forgiving for beginners.
- Stabilizer: 5 to 8 inches, dampens vibration and balances the bow.
- Quiver: typically 4 or 5 arrow capacity, mounts to the riser.
- Peep sight: the rubber-encased ring tied into the string for aligning the eye.
- D-loop: the small loop on the string where a release aid clips.
What is usually not included: arrows, a release aid, a target, a hard case, and broadheads if you plan to hunt. Budget another $100 to $200 for these accessories. A box of six quality carbon arrows runs $60 to $120, an index-finger release is $40 to $80, and a serviceable foam block target is $50 to $100.
Budget Guide: What You’ll Actually Spend
Here is the part most articles will not give you straight. The honest cost of getting into compound archery is not just the sticker price of the bow. We break it into three realistic tiers below.
| Tier | Bow Price | What You Get | Best For |
|---|---|---|---|
| Budget | $150-$250 | Entry-level RTF package, limited adjustability, basic sight and rest, beginner-friendly cam | Kids, casual backyard shooters, anyone testing whether archery sticks |
| Mid-Range | $300-$500 | Wide draw length and weight adjustment, decent fiber optic sight, quality rest, durable string, will grow with you | Most beginners, hunters on a budget, family bows that get shared |
| Serious Starter | $500-$800 | Premium riser, smoother cams, upgraded sight and rest, faster arrow speeds, components you will not need to replace | Committed hunters, target competitors, anyone who knows they will stick with it |
The tradeoff is honest. The $150 bow is a real bow, not a toy, and it will teach you the basics. But it will probably be the worst tool you ever use to shoot. The $300-$500 bow is the sweet spot for most people. The $700 bow is a luxury at this stage, but if you can afford it and you know you are committed, it removes upgrade pressure for years.
Now add the realistic accessory budget on top of whatever bow you buy: $150 to $250 for arrows, release, target, and case. So a true entry into compound archery, top to bottom, is around $450 to $750 for most beginners.
Our Top Beginner Compound Bow Picks for 2026
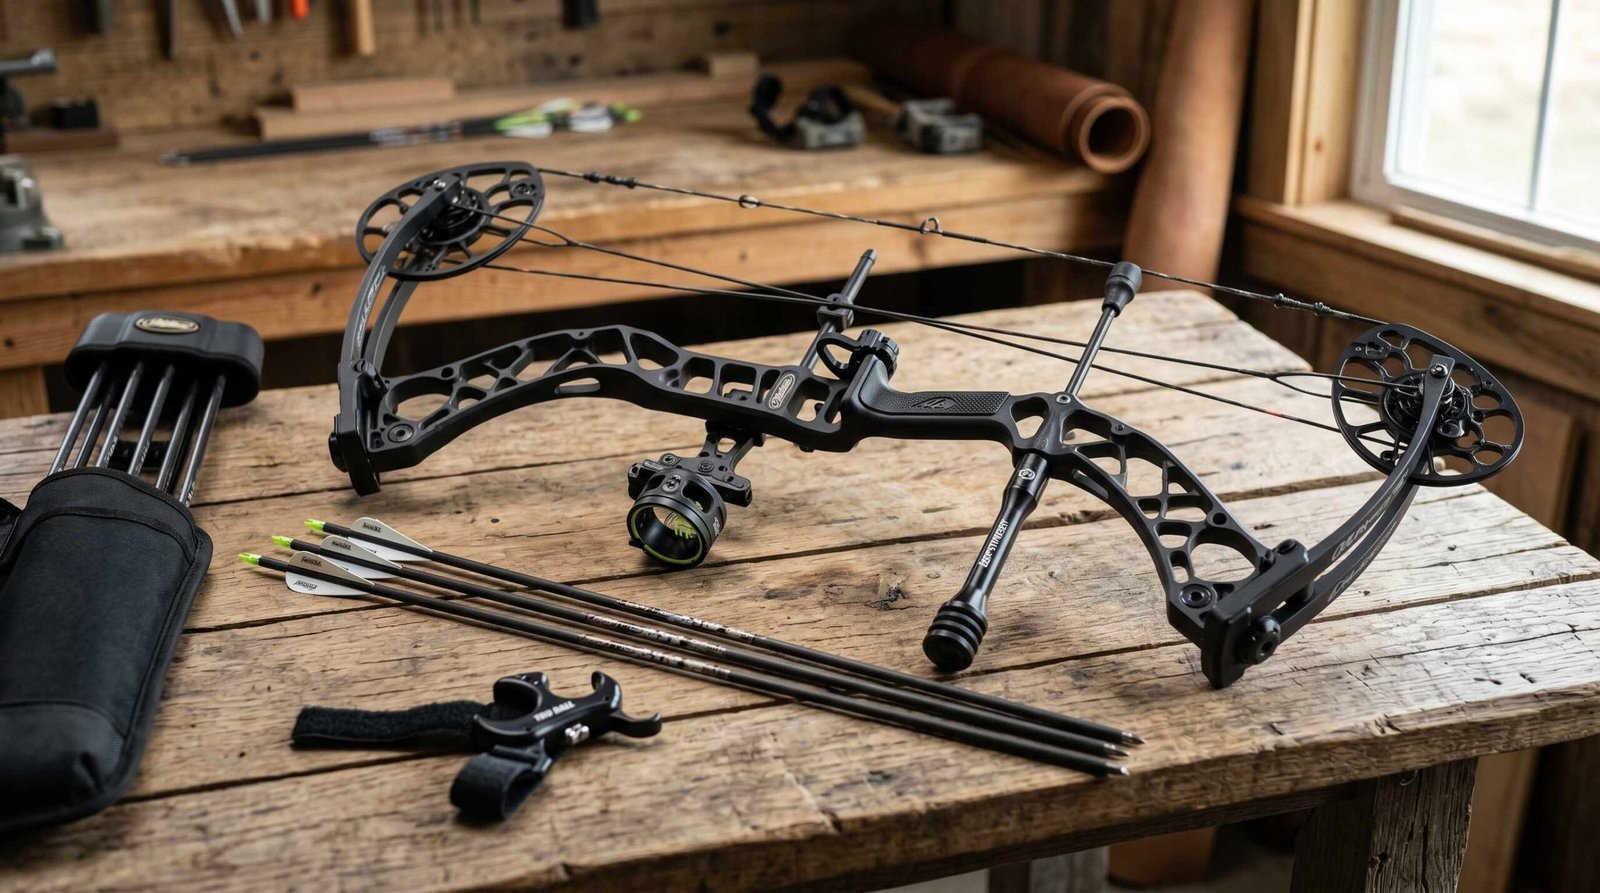
These five bows are what we point friends at when they ask. Each one earns its slot for a specific reason, and the right pick depends on your build, your budget, and whether you are training a kid or buying for yourself.
| Bow Name | Draw Length Range | Draw Weight Range | Let-Off | Axle-to-Axle | Price | Best For |
|---|---|---|---|---|---|---|
| Bear Cruzer G2 | 12-30 inches | 5-70 lbs | 75% | 30 inches | $350 | Best all-around beginner pick |
| Diamond Infinite Edge Pro | 13-31 inches | 5-70 lbs | 80% | 31 inches | $500 | Widest adjustment range on the market |
| PSE Brute ATK | 22.5-30 inches | 55-70 lbs | 75% | 31 inches | $250 | Budget hunters |
| Hoyt Ignite | 19-30 inches | 15-70 lbs | 80% | 30.5 inches | $400 | Premium feel without flagship price |
| Genesis Original | 15-30 inches | 10-20 lbs | 0% | 35.5 inches | $150 | Absolute newcomers and youth programs |
Bear Cruzer G2 ($350)
If we could only point to one bow on this list, it would be the Cruzer G2. The adjustment range is genuinely absurd: 12 to 30 inches of draw length and 5 to 70 pounds of draw weight. That means one bow fits a 7-year-old and the same kid as a 16-year-old, and the same 16-year-old as a 35-year-old hunter. The package includes a Trophy Ridge sight, Whisker Biscuit rest, stabilizer, and quiver. Bear Archery has been making bows since 1933, and their support is excellent. Bear Archery’s setup guides walk you through paper tuning, sight adjustment, and string maintenance with clear step-by-step photos. For most readers, this is the bow.
Diamond Infinite Edge Pro ($500)
The Infinite Edge Pro is the Cruzer G2’s main competitor and probably its slightly more refined sibling. Diamond is owned by Bowtech, so the cam engineering is excellent. The Pro version has a more aggressive cam, better limb pockets, and a smoother draw cycle. Adjustment range matches the Cruzer G2 almost exactly, but the build quality feels a step up. If you are a taller or larger-framed adult who plans to hunt seriously, the extra $150 is worth it.
PSE Brute ATK ($250)
The Brute ATK is the budget hunter’s friend. Adjustment range is narrower than the Cruzer or Infinite Edge (22.5 to 30 inches, 55 to 70 pounds), so it is not the right bow for a small-framed shooter or a teenager. But for an adult man on a budget who wants to hunt deer this fall, the Brute ATK is a complete RTF setup with arrows often included for under $300. The cam is forgiving, the riser is rigid enough for accuracy out to 40 yards, and the included sight is functional. It is not pretty, but it shoots.
Hoyt Ignite ($400)
Hoyt is a premium American brand, and the Ignite is their entry-level offering. The Ignite uses Hoyt’s proven cam technology in a smaller, lighter package designed for new shooters. The draw cycle is smoother than anything else in this price range, and the riser has the cosmetic finish of a $1,000 bow. The downside: the package accessories are slightly less generous than the Bear or Diamond. If you are a tactile shopper who wants something that feels like a real piece of equipment from day one, the Ignite is the play.
Genesis Original ($150)
The Genesis Original is the only bow on this list with zero let-off, which sounds like a drawback but is actually a feature for true beginners. Zero let-off means there is no break-over point in the draw cycle, the bow draws the same as a recurve. This makes it the official bow of the National Archery in the Schools Program (NASP), used by over 4 million students. It is also a one-size-fits-most bow with a 15 to 30 inch draw length range and no need to adjust it. For a 9-year-old or a complete adult novice who just wants to plink at backyard targets, the Genesis Original is unbeatable for the money.
Getting Started: What to Do After You Buy Your Bow
Buying the bow is the easy part. The first 90 days of practice are where most beginners either fall in love with archery or quietly stash the bow in the garage. Here is the roadmap we walk every new shooter through.
Get a Professional Setup at a Pro Shop
Even if you buy your bow online and it arrives ready to shoot, take it to a local pro shop for a $40 to $80 paper tuning and setup session. They will measure your draw length precisely on a draw board, set your peep sight to your actual sight line, adjust the rest, and time the cams if needed. This single appointment will do more for your accuracy than any practice you can do at home. A bow that is technically functional out of the box and a bow that is precisely tuned to you are very different things.
Learn the Form Basics
Compound archery has four form fundamentals that every elite shooter obsesses over. Get these right early and you will save yourself months of bad habits.
- Stance: feet shoulder-width apart, perpendicular to the target. Weight evenly distributed.
- Grip: relaxed, with the bow resting on the meaty pad of your thumb. Do not death-grip the riser. Many beginners use a wrist sling so they can keep an open hand.
- Anchor point: the same spot on your face every single shot. Most compound shooters anchor with the string touching the tip of the nose and the knuckle of the index finger of the release hand under the jaw.
- Release: a smooth, surprise release with steady back tension. Punching the trigger is the most common cause of beginner inaccuracy.
Consider Lessons or a Class
You can absolutely teach yourself compound archery from YouTube. Plenty of great shooters started that way. But if you can afford it, a handful of archery lessons from a certified instructor will compress your learning curve from months into weeks. An experienced coach watches your form and corrects errors you cannot see in yourself. For families with kids, group archery classes are often cheaper per person and create the social aspect that keeps kids engaged.
Build a Practice Routine
Twenty good arrows beat 100 sloppy ones. We suggest three sessions per week of 30 to 50 arrows each for the first three months. Shoot at 10 yards until you can put every arrow into a paper plate, then move back in 5-yard increments. Do not chase distance, chase consistency. The shooter who can hit a tennis ball at 20 yards every time is more dangerous than the shooter who can occasionally hit a paper plate at 60.
Frequently Asked Questions
How much should I spend on my first compound bow?
$300 to $500 is the realistic sweet spot for an adult beginner. This buys a quality ready-to-shoot package from Bear, Diamond, Hoyt, or PSE with enough adjustability to grow with you for years. Budget another $150 to $250 for arrows, a release aid, and a target. Spending less than $250 limits your adjustment range, and spending more than $500 is fine but not necessary at this stage.
Can I learn compound archery on my own?
Yes, but it is much faster with a coach. Compound bows are forgiving enough that you can teach yourself acceptable form from YouTube, practice manuals, and patient repetition. We have seen self-taught archers reach impressive accuracy in six months. But a couple of hours with a certified instructor or a local archery class will fix form errors you cannot see, and it usually pays for itself in saved frustration.
What draw weight do I need to hunt deer?
Most states require a minimum of 40 pounds at draw to legally hunt whitetail deer, and many bowhunters use 50 to 60 pounds for cleaner pass-through shots. Elk and larger game typically demand 50 to 65 pounds minimum. Always check your specific state’s regulations before hunting. Note that the kinetic energy of the arrow matters as much as draw weight, which is why arrow weight and broadhead choice matter alongside the bow’s power.
How long does it take to get accurate with a compound bow?
Most beginners can group arrows on a paper plate at 20 yards within two to four weeks of consistent practice. Hitting a softball-sized target at 30 yards typically takes 2 to 3 months. Reaching genuine hunting accuracy (tight groups at 40 yards) is usually 6 to 12 months for a dedicated beginner. Practice frequency matters more than session length. Three short sessions per week beats one long Saturday session.
Is a left-handed bow necessary if I’m left-eye dominant?
If you are left-eye dominant, you should generally shoot a left-handed bow regardless of which hand is naturally stronger. Eye dominance, not hand dominance, determines which side you shoot. To test your eye dominance, extend both arms, make a small triangle with your hands, and frame a distant object inside the triangle. Close one eye at a time. The eye that keeps the object centered is your dominant eye. About one in three people are cross-dominant, meaning they are right-handed but left-eye dominant or vice versa.
How often should I replace the bow string?
Replace your string and cables every 2 to 3 years for an average shooter, or sooner if you shoot more than 100 arrows a week. Inspect strings before every session for fraying, separated strands, or worn serving. Wax the string every 200 to 300 shots with bowstring wax. Have the replacement done by a pro shop with a bow press. A worn string left in service is the single most common cause of dry-fire injuries and equipment failure in compound archery.